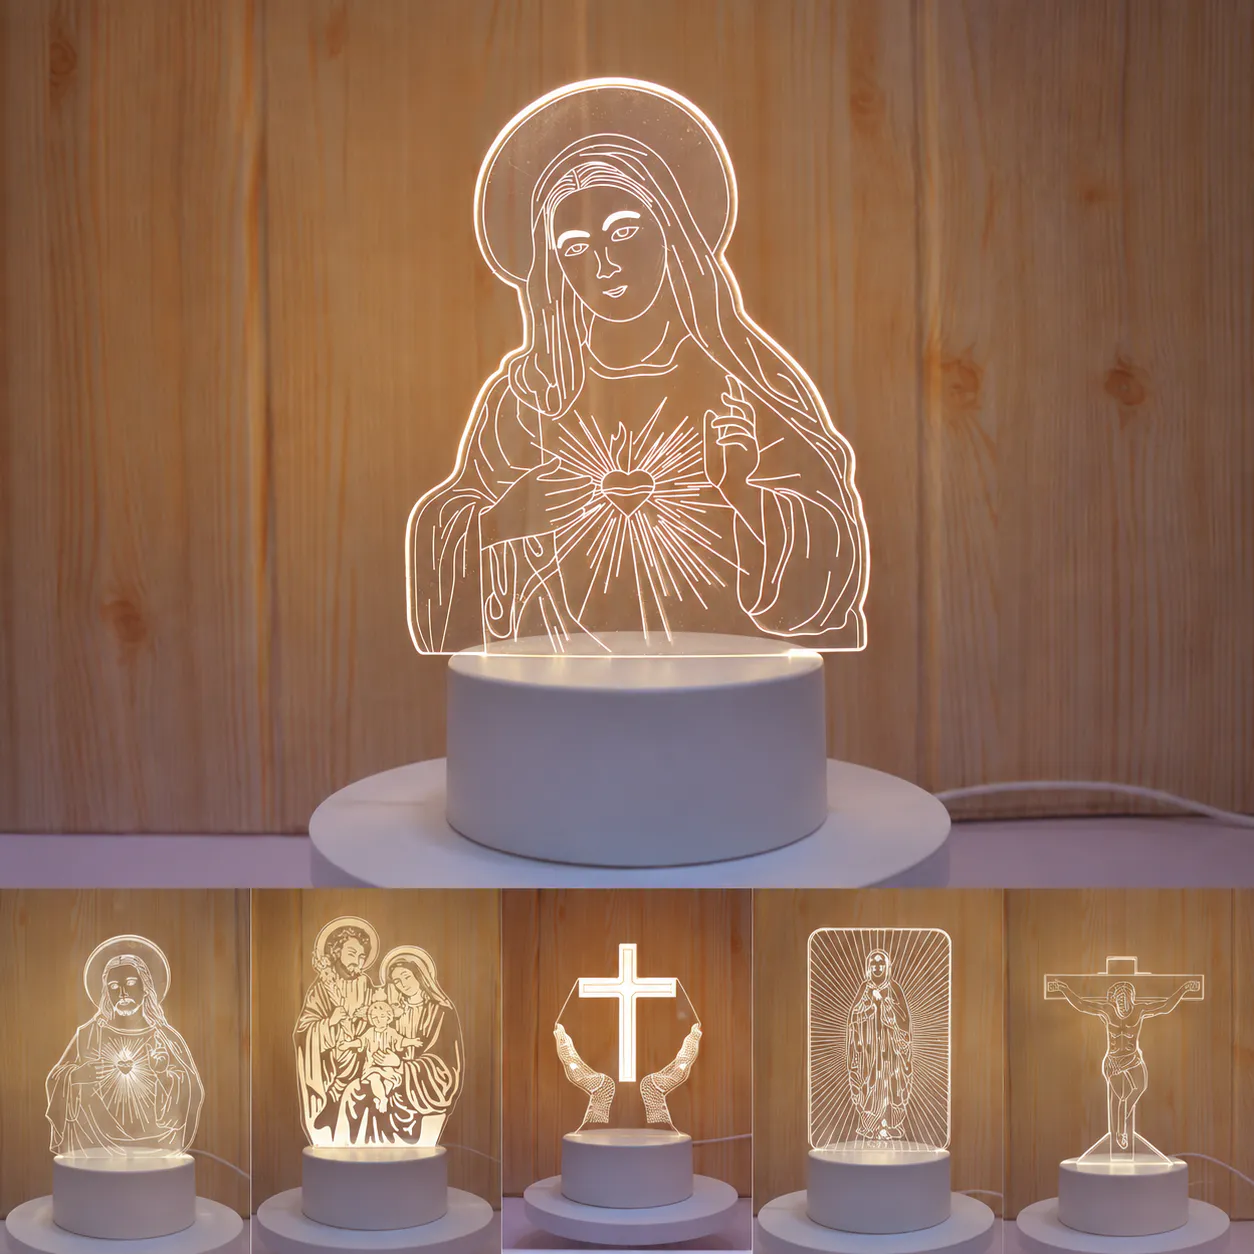
Approve panel edges, artwork, slot fit, lighting, controls, accessories and packaging on one complete night-light sample. Start with the Acrylic Night Lightscollection, then connect the chosen platform to a controlled artwork, packaging and approval brief within acrylic night light sample approval checklist planning.
Decisions to make before requesting a quote
| Decision | What the buyer should define |
|---|---|
| Panel | Check dimensions, edges, surface and artwork orientation. |
| Base fit | Confirm insertion, stability and illuminated boundary. |
| Lighting | Review modes, uniformity and control response. |
| Pack | Verify film, accessories, instructions and insert. |
Approve with production artwork
A generic demonstration panel cannot validate line weight, print density, text spelling or the way the final design meets the base.
Record the accepted light state
RGB products may look different by mode and camera. Identify the reference mode and evaluate the sample in a repeatable room-light condition.
How to compare supplier responses — acrylic night light sample approval checklist review
Compare quotations against the same product model, artwork version, included accessories, packing level and destination requirements. A lower unit price is not comparable when one quote omits the approved control method, protective insert, printed materials or individual packing for the acrylic night light sample approval checklist review. Ask every supplier to separate standard-platform items from changes that require engineering assess for the acrylic night light sample approval checklist decision path.
Request evidence at the level appropriate to the order: a dimensional drawing for fit, an artwork proof for position and spelling, a working sample for light and control behavior, and a packed sample when presentation or shipping protection matters within acrylic night light sample approval checklist planning. Record exceptions in the brief instead of relying on chat history for the acrylic night light sample approval checklist review.
Sampling and approval sequence — acrylic night light sample approval checklist planning
Approve the standard product platform first. Next approve the visible treatment—shape, artwork, color and finish—before confirming packaging for the acrylic night light sample approval checklist review. For personalized or multi-variant orders, approve one master layout and maintain a numbered schedule that connects each file to its quantity and packing identity for the acrylic night light sample approval checklist review.
Changes to dimensions, tooling, electronics, materials or performance should follow the appropriate within the acrylic night light sample approval checklist workflowcustom development solution within the acrylic night light sample approval checklist decision path. Keeping Private Label, OEM / Build-to-Print and Full ODM Development routes separate makes cost, responsibility and lead-time discussions clearer within the acrylic night light sample approval checklist workflow.
Information to include in the RFQ
- Final panel file and dimensions
- Approved base SKU and fit
- Reference light mode and controls
- Complete accessory list
- Packed-sample and approval photos
Keep the approved model, artwork, power arrangement, accessories, labels and packaging in one version-controlled file. State quantity by version, destination market and required arrival date within the acrylic night light sample approval checklist workflow. This gives the factory enough information to confirm feasibility without changing the original product record or making unsupported assumptions within acrylic night light sample approval checklist planning.
Inspect the acrylic panel and LED base as one optical system
A plug-in acrylic night light can pass a general appearance review while still failing in use. Inspect the panel when unlit and illuminated, seated in the production base, with the intended adapter or USB supply. The approval record should distinguish panel artwork, edge finish, slot fit and base electronics.
- View engraved or printed details from the normal room distance and check bright spots near the LED entry edge.
- Confirm that protective film, polishing residue and fine scratches are not mistaken for artwork defects.
- Measure panel insertion depth and side play so repeated removal does not loosen the fit or chip the lower edge.
- Cycle the switch or touch control and record color order, memory behavior, cable exit and adapter marking.
Keep separate close-up photos for the lower illuminated edge, the darkest artwork area and the panel-to-base interface. These images make later batch inspection more objective.
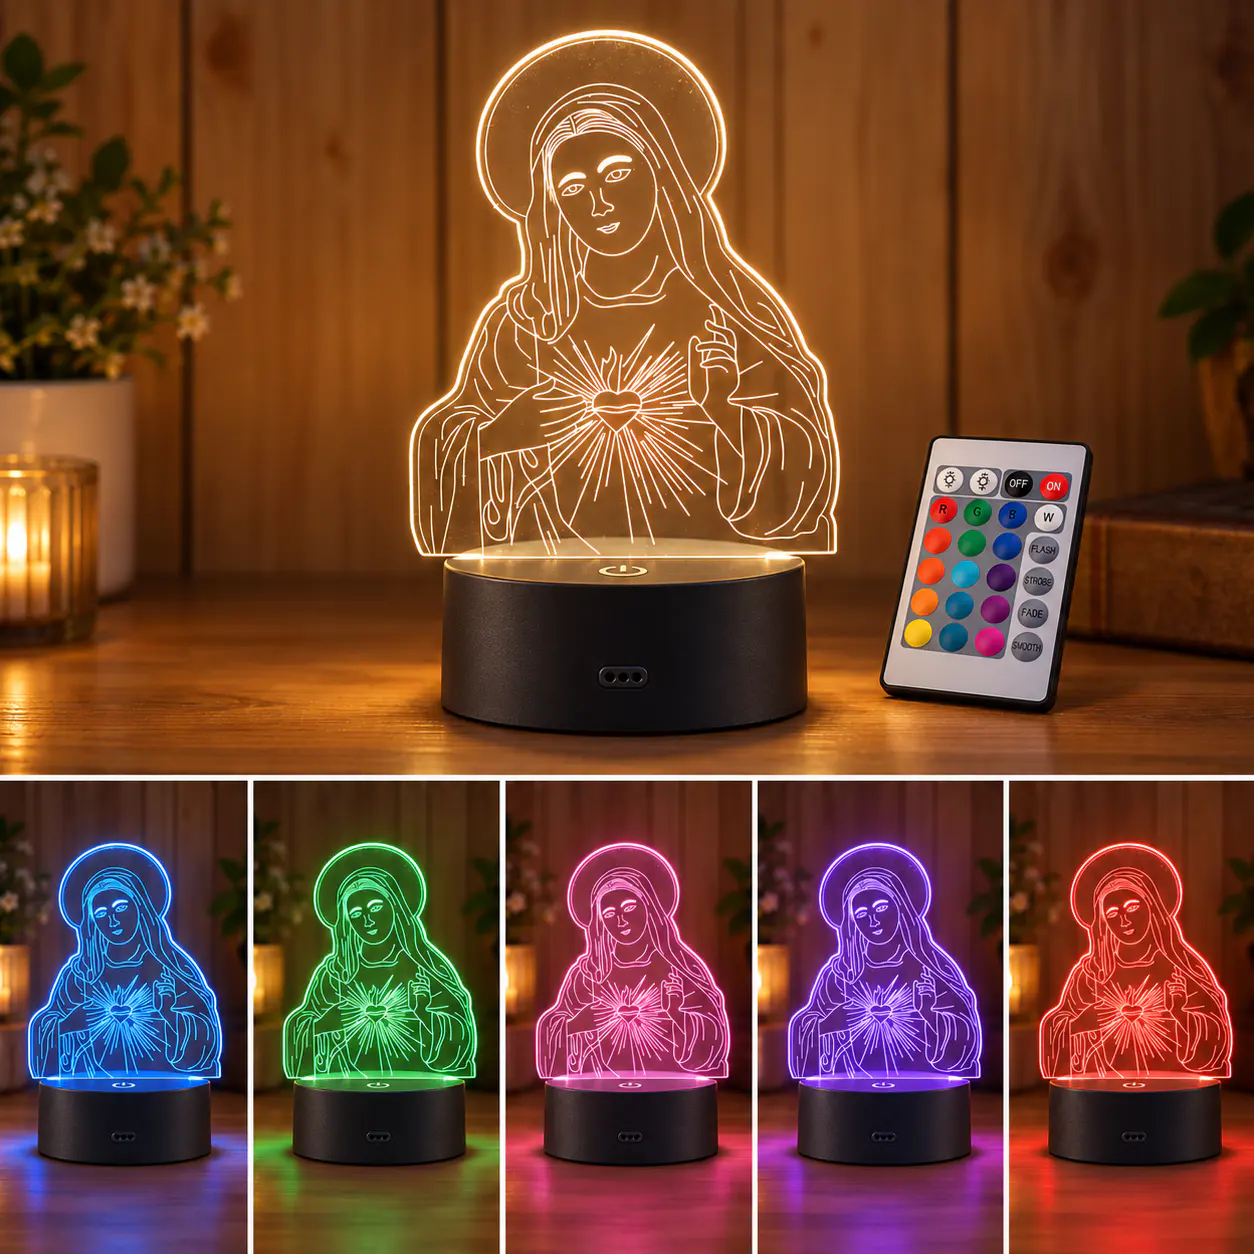 RGB Acrylic 3D Illusion Night Light
 Rechargeable 7-Color Acrylic LED Desk Sign
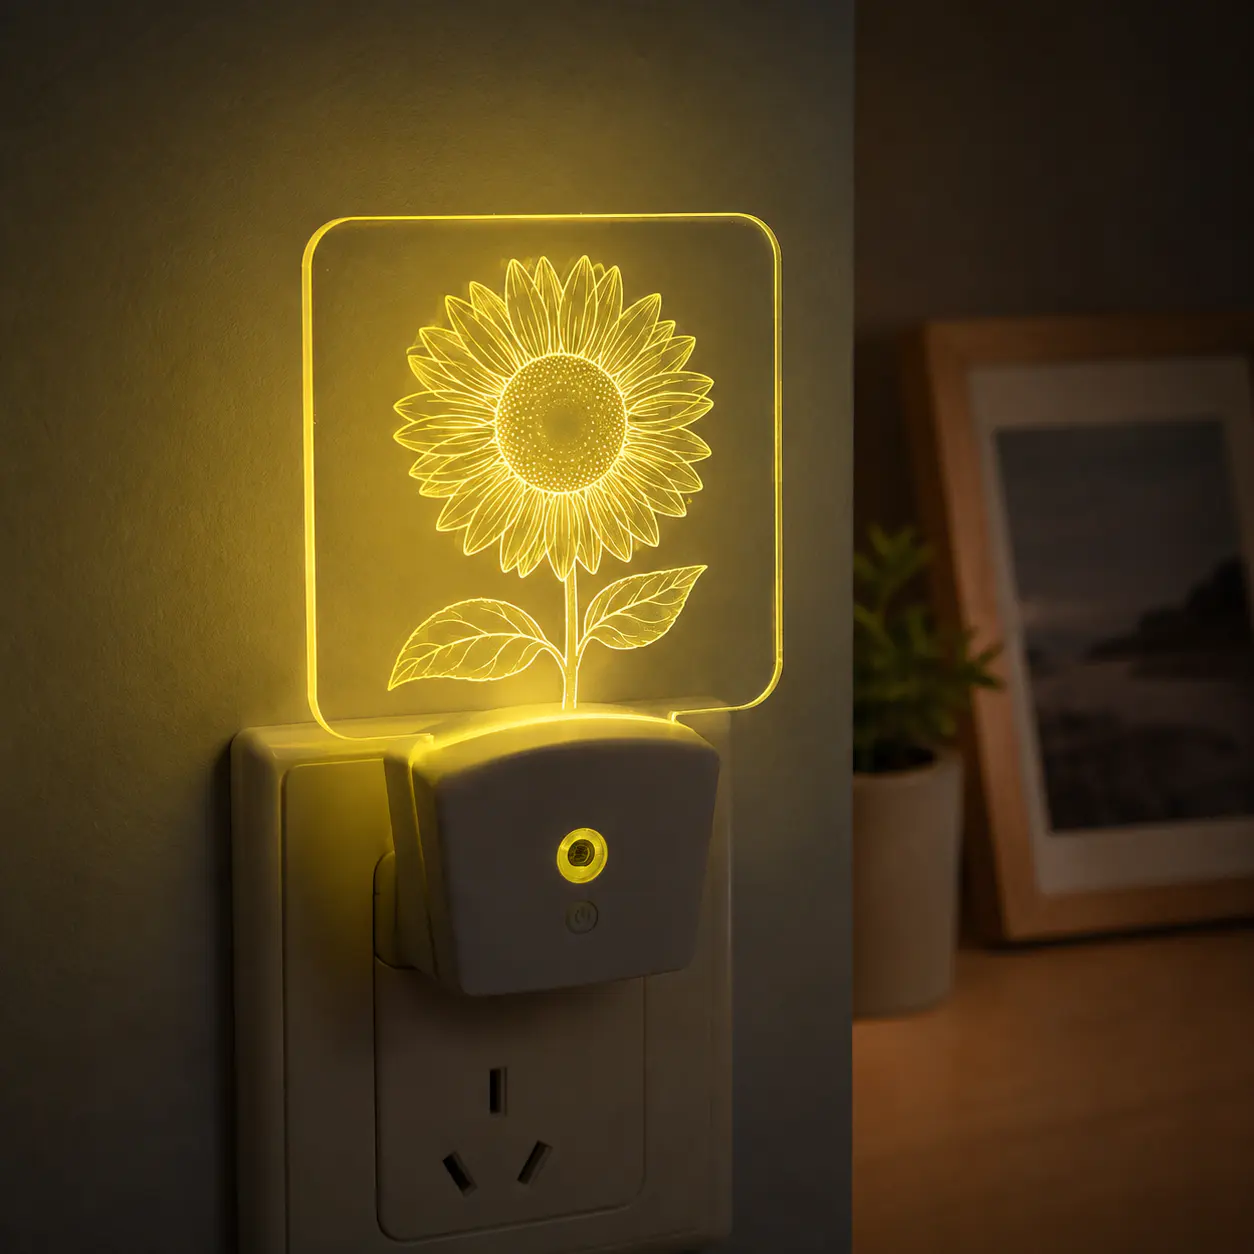 RGB Plug-In Acrylic Night Light